Knowledge Hub
Fuzzy skin
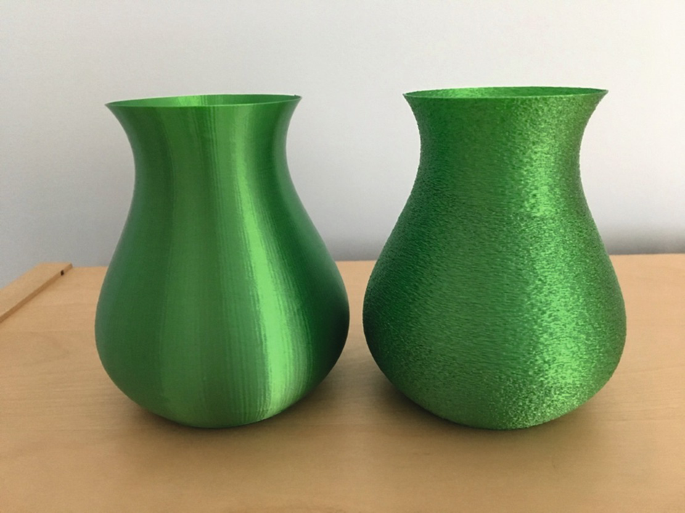
Hi everyone! This post was created to show you how to properly model for the correct use of the Fuzzy Skin feature, and how to correctly apply Fuzzy Skin in PrusaSlicer. The modeling was done in Fusion 360, which is available for free to everyone, and can also be obtained at a relatively low cost for entrepreneurs and companies.
In the first step, we create the body on which we want to apply the Fuzzy Skin, and then we create the modifier, which ensures that the Fuzzy Skin is only applied in the desired area. It is important in this case to create a separate body (so we don’t use the Cut or Join commands, but instead create a New Body). The two bodies must intersect with each other – I usually use about 1 mm of overlap.
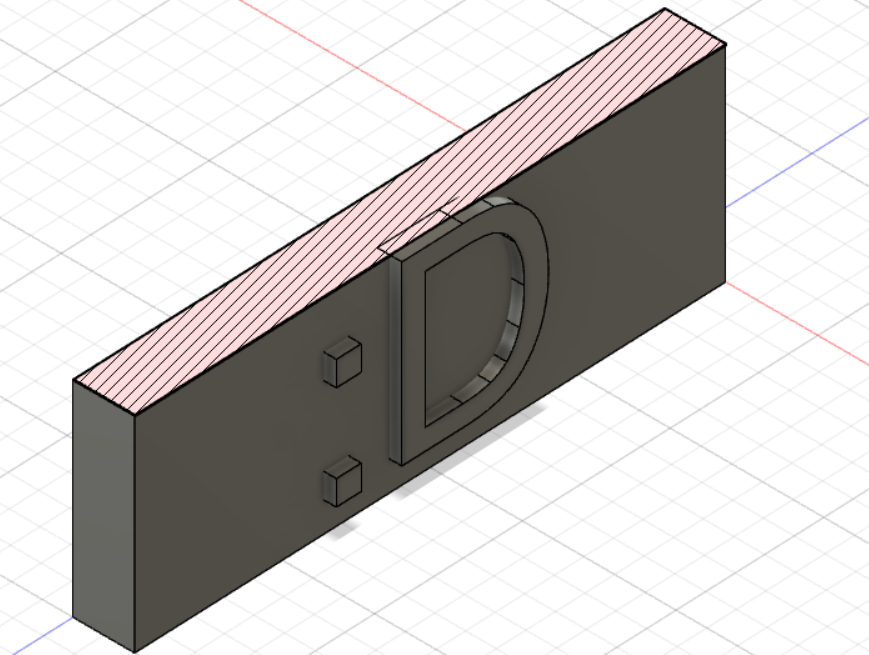
Once all the modeling is complete, export the entire component as a single STL.
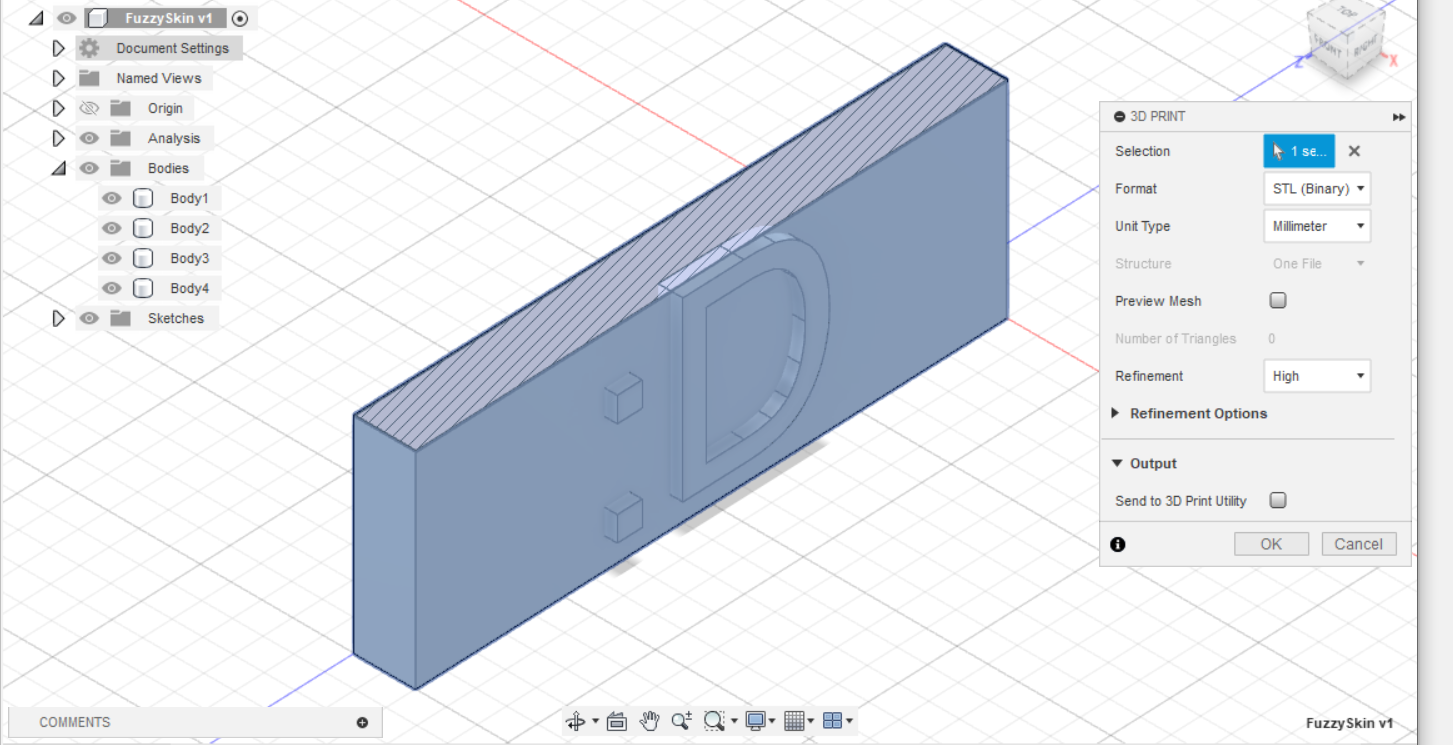
Open the STL in 3D Builder, then separate the groups. This way, instead of handling one single body, you’ll be able to see and manage each body individually.
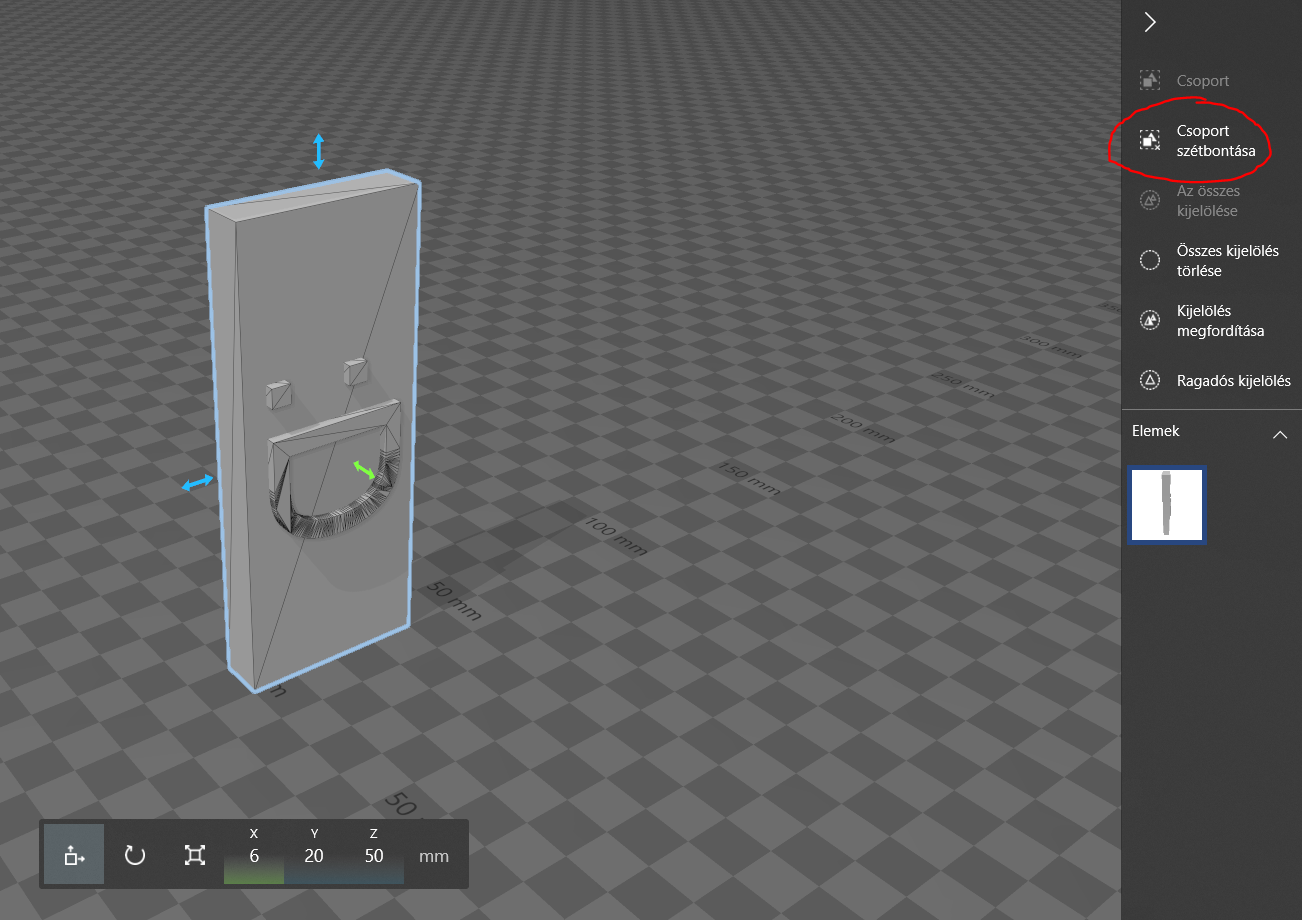
Next, select all the bodies that will serve as modifiers, then group them together. Save these as a single STL file.
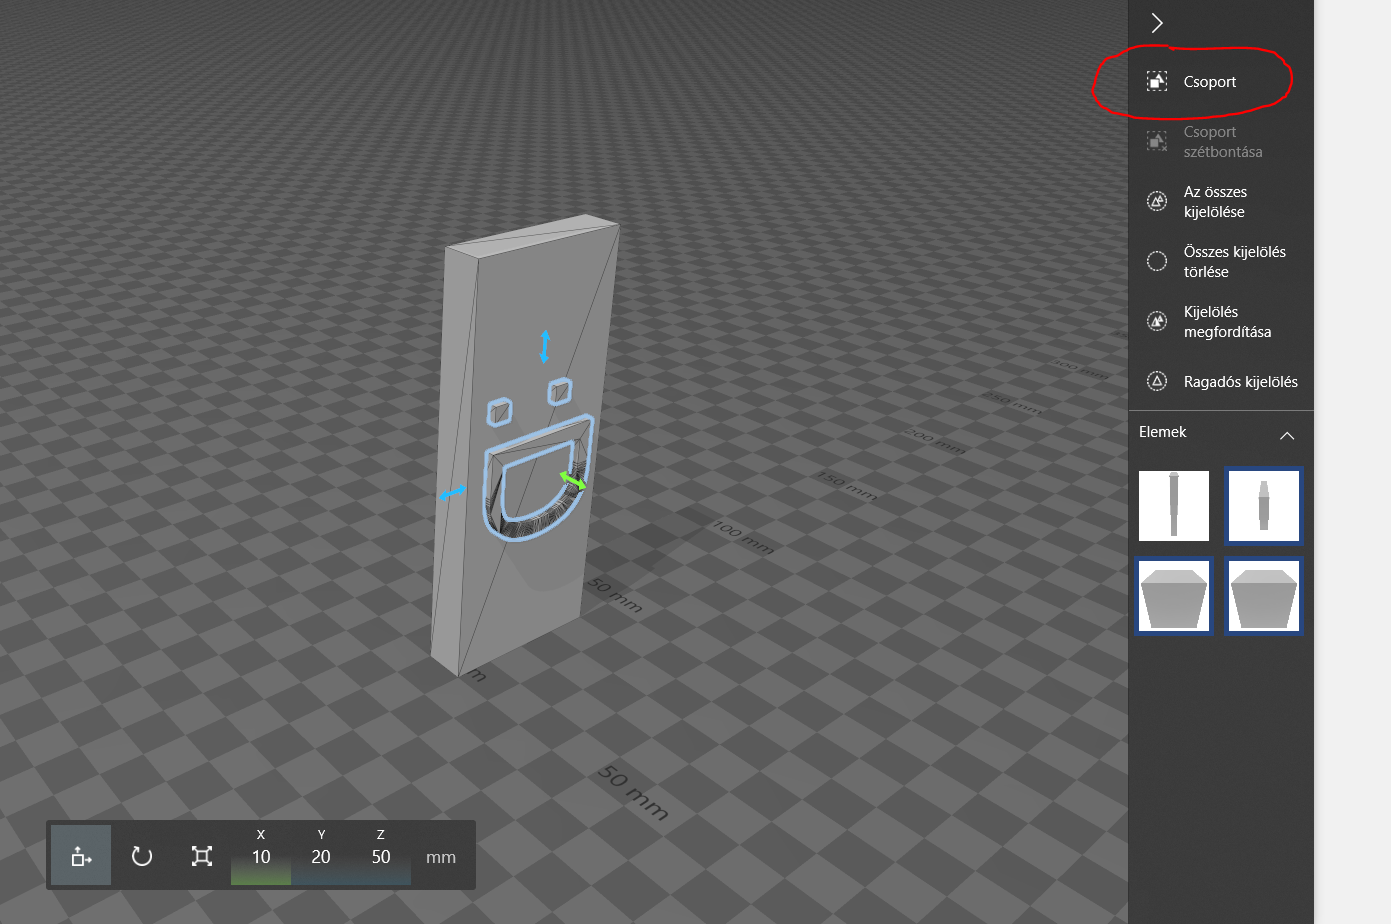
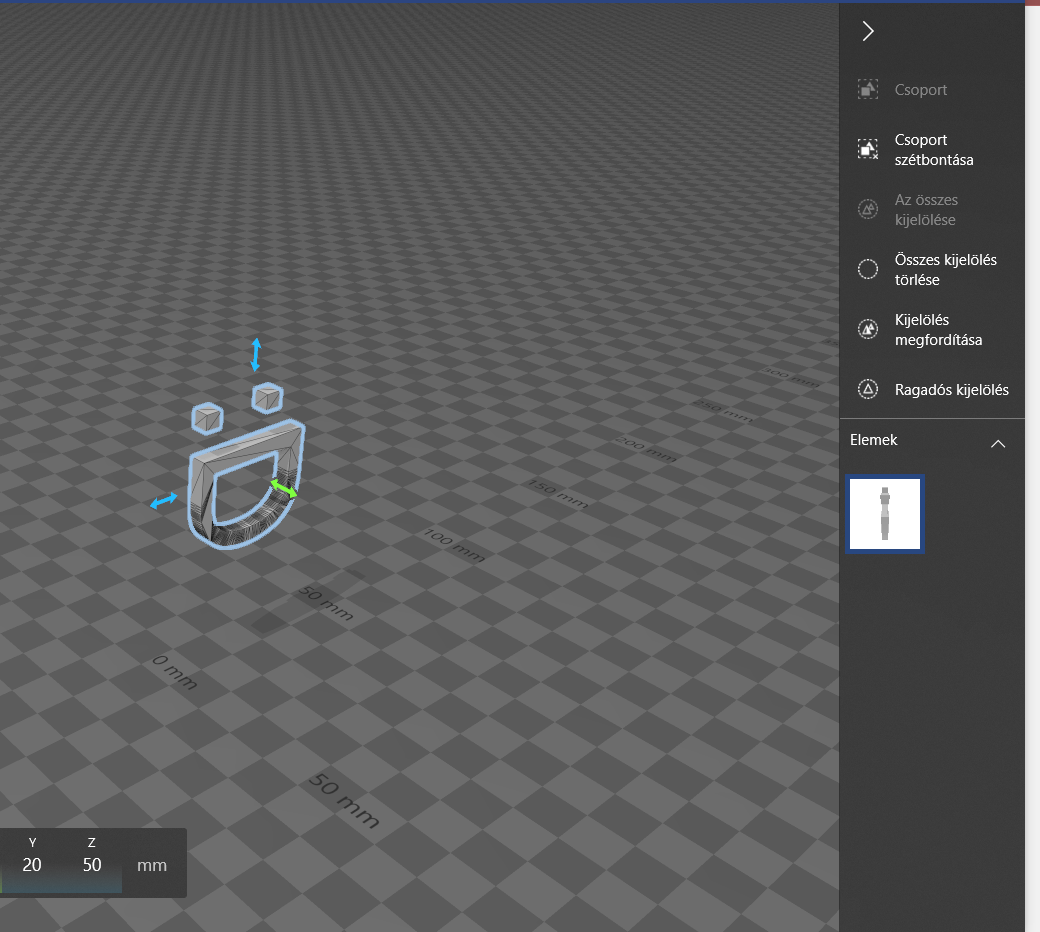
It might be easier if you delete the bodies you don’t need, then use Save As to export the remaining ones. After that, press CTRL+Z to bring back the deleted body, and repeat the process to save this one separately.
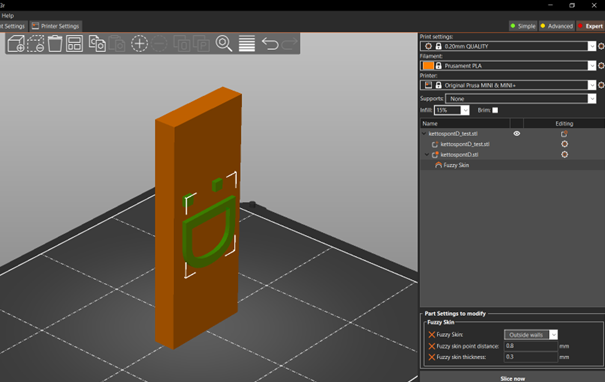
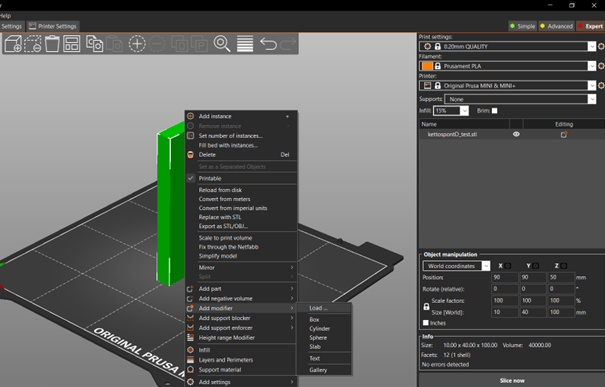
Once you’re done, import the body into the slicer. Right-click on the body, choose Add modifier, and select the STL file you intended to use as the modifier.
With the modifier selected, now add the desired settings – in our case, apply Fuzzy Skin.
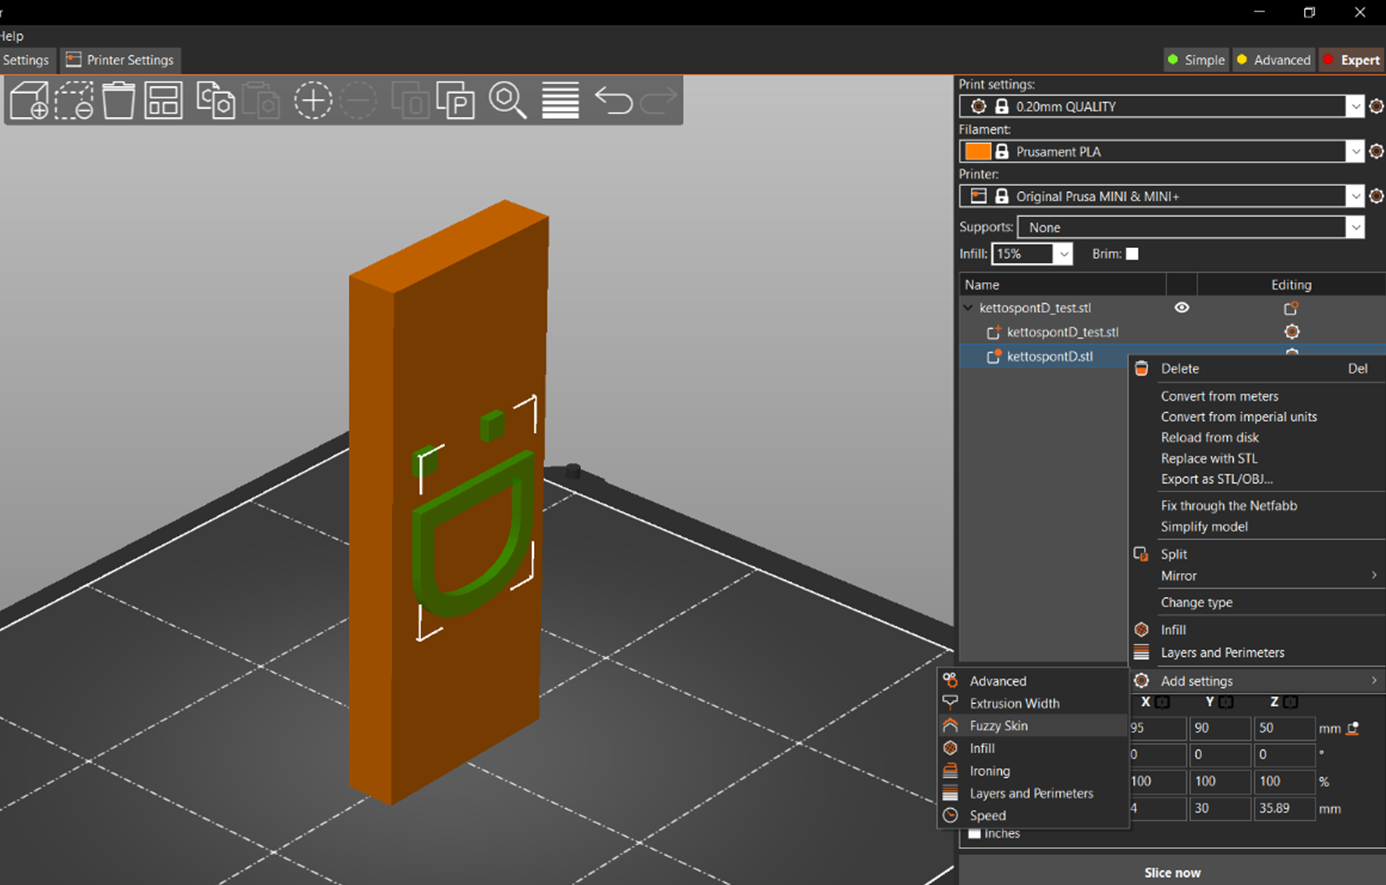
Set it so that the Fuzzy Skin is applied only to the outer walls.